Installation Instructions
Installation Time: 30 minutes
Tools Required:
Isopropyl Alcohol
Lint Free Scratch Resistant Cloth
Procedure

A. Prepare Surface
- Thoroughly clean all the installation surfaces.
- Apply isopropyl alcohol mixture to a clean lint free cloth and
clean the emblem surface to be installed. Allow the surface
to air dry thoroughly. (Fig A-1)
Note: Always use a clean, lint-free scratch resistant cloth.
Note: Never apply isopropyl alcohol directly to the surface - Inserts and vehicle installation surfaces must be between 70° F and 110° F at time of installation
Note: A heat source may be used to reach minimum temperature if necessary.
B. Verify Kit Contents
- Inspect the kit for contents and damage.

C. Product Installation
- Confirm letter to be installed matches the recess before installation
- Roll liner back onto itself, exposing the adhesive (Fig C-1)
Note: Do not touch the adhesive liner during installation

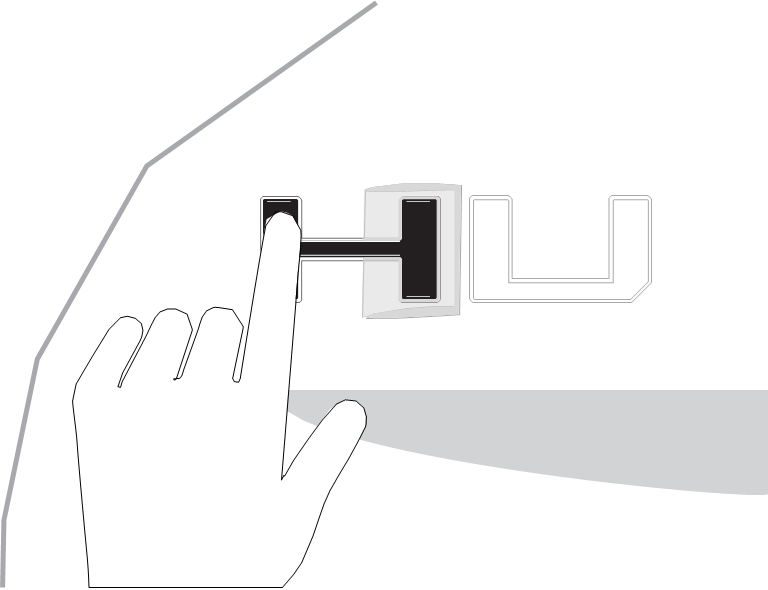
- Lightly, start installing the insert from left to right. Make sure to not apply full pressure, as slight adjustments may need to be made. (Fig C-2).
- Once satisfied with placement, firmly press down on insert to ensure proper adhesion.
Repeat steps 1-4 for remaining letters.

Special Note
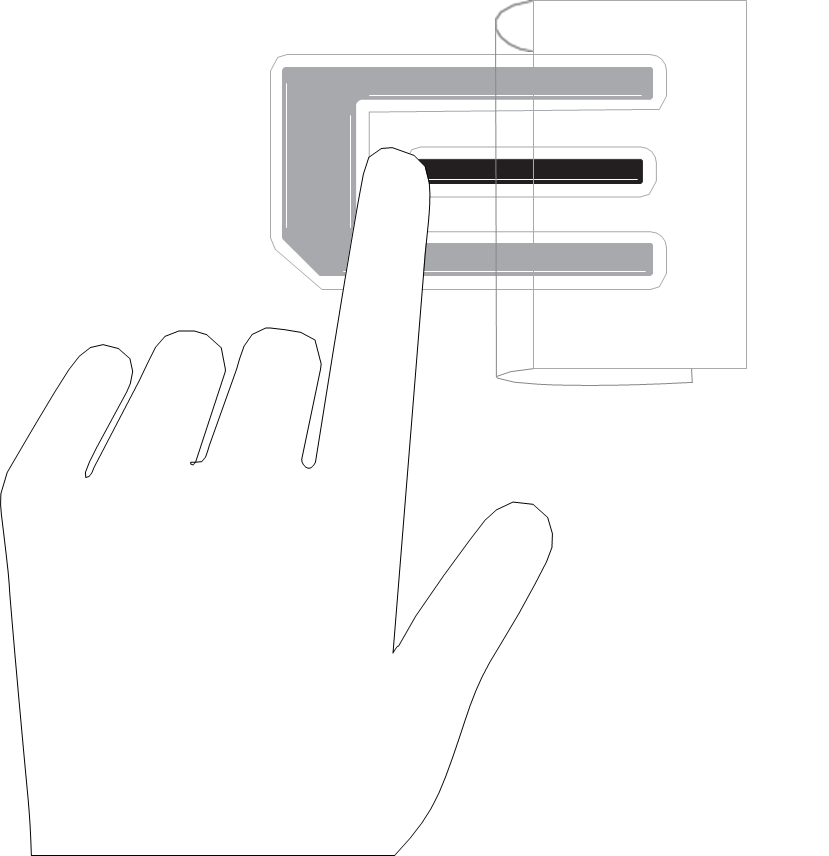
Fore ease of installation of the horizontal bars found on the “E” and “EV”, install the bars separately from the larger letter portions following steps 1-4. (Fig C-3)


